Showing posts with label Candi. Show all posts

Wednesday, February 13, 2013

February SNS Blog Hop - Monochromatic

Hi Everyone,

Welcome to the February Monochromatic blog hop by Sparkle N Sprinkle.  If you arrived here by way of Julie's Blog , then you are at the right place, but if not and you want to be eligible for great prizes, then click here to start from the beginning. WOW.... by now you should be getting inspired. Are you having fun? Monochromatic!! What a great theme and such a great way to get started without having to pick out a few coordinating colors... Pick just one and roll with it...

Prizes will be awarded, so don't forget to leave comments on everyone's blog, 'cause that's how you become eligible for the prizes that are to be given away. This is a 2 day blog hop so you'll have plenty of time to view all the projects and leave comments.The prizes are stamp sets, flocking, glitter embossing powders, etc.  BTW, there are 3 designers who've been designated to have prizes "hidden" on their blogs, so comments are important and we LOVE getting comments.They really make our day. So without further adieus, here is the card I chose to share with you for this blog hop...


For this card, I started with a simple white cardstock base making my card 5X5 in size.  I used my scor pal to create the embossed edges around my card.  I embossed the sentiment in the upper right corner using Princess Rose Embossing powder from SNS.  This embossing powder is a cosmic powder which leaves a beautiful sheen.  I DID NOT use my embossing buddy because I wanted to cover the entire card front with the embossing powder and tapped it off... I heat set the card so the shimmer would stay on the card front instead of wiping it away.  That is how I got the pink shimmer effect to my white cardstock.  I then punched out my border and added a strip of tear ific tape across the center and applied my bubblegum glitter.  I attached the strip and then layered my cut out hearts in their desired location.  I added a crochet bow to finish this card off...  I made this card for my husband who is currently deployed and can't be here to celebrate with me this year... I photographed the card with a dozen red roses and 2 heart balloons and I will be sending him a photo to look at while he is away...  That is the best I can do for him this year..  :(


Thanks for me and the rest of the SNS team on this blog hop. Before hopping on to Brigita's Blog, please leave a comment here on my blog to be eligible for a prize.... Now don't forget to return to Sparkle N Sprinkle so that you can purchase everything you saw while on our blog hop so you too can recreate all of these wonderful projects..


In case you get lost here is a list in order of all the team members on today's hop.


** Marie Berquist ** Dawn Bennett  ** Julie Zippel  **Keri Brown (this is me)  ** 


Tuesday, December 18, 2012

Triple Fold Tutorial

Tutorials really do take some extra time to put together...  They require so much time and work...  So I hope that you will grab a cup of coffee and a snack and join me here today...  As I said in my previous post, the Sparkle N Sprinkle DT members are creating projects this month incorporating "fun folds."  I want to share with you my favorite fold card and a tutorial to show you how to create this fabulous jaw dropper in your home...  All glitters, embossing powders and adhesives can be purchased at Sparkle N Sprinkle, as well as the 2X2 acrylic blocks that I am using in this tutorial.  You don't have to use the 2X2 size and they have plenty others to choose from...  So I hope you have your drink and snack in hand.... Here we go...  Start with a sheet of cardstock measuring 4" X 12" and score lengthwise at 4" and 8"
Then on your center panel find your center point with intersecting lines and draw with a light pencil mark.
Place your 2 X 2 sized square die cut side facing you on your center lines as shown and tape in place with removable adhesive.
Fold both left and right sides over your die and run through you die cut machine.  This will cut out both left and right panels at the same time exactly where you need them.
When you have finished running through your die cut machine, reopen both flaps and carefully remove die                                                and erase pencils markings as shown.
As you see in the next photo close up, you die will leave an indentation in your cardstock... Don't worry                               as you will be covering this in a later step and will aid in placement of your block.
Now it is time to start preparing our acrylic block to emboss.  This step is very important.  Remove protective film from 1 side of your acrylic and rub your anti static bag over surface really well.  If you don't do this step you will end up with a lot of "flakes" left on your acrylic and you won't get a clear crisp image.
Next carefully stamp your image on your acrylic block without touching your block.  You don't want to
                                                  leave fingerprints or oil from your fingers.
Apply desired embossing powder and heat set.  I chose to use Sweetheart EP for my sample shown here.
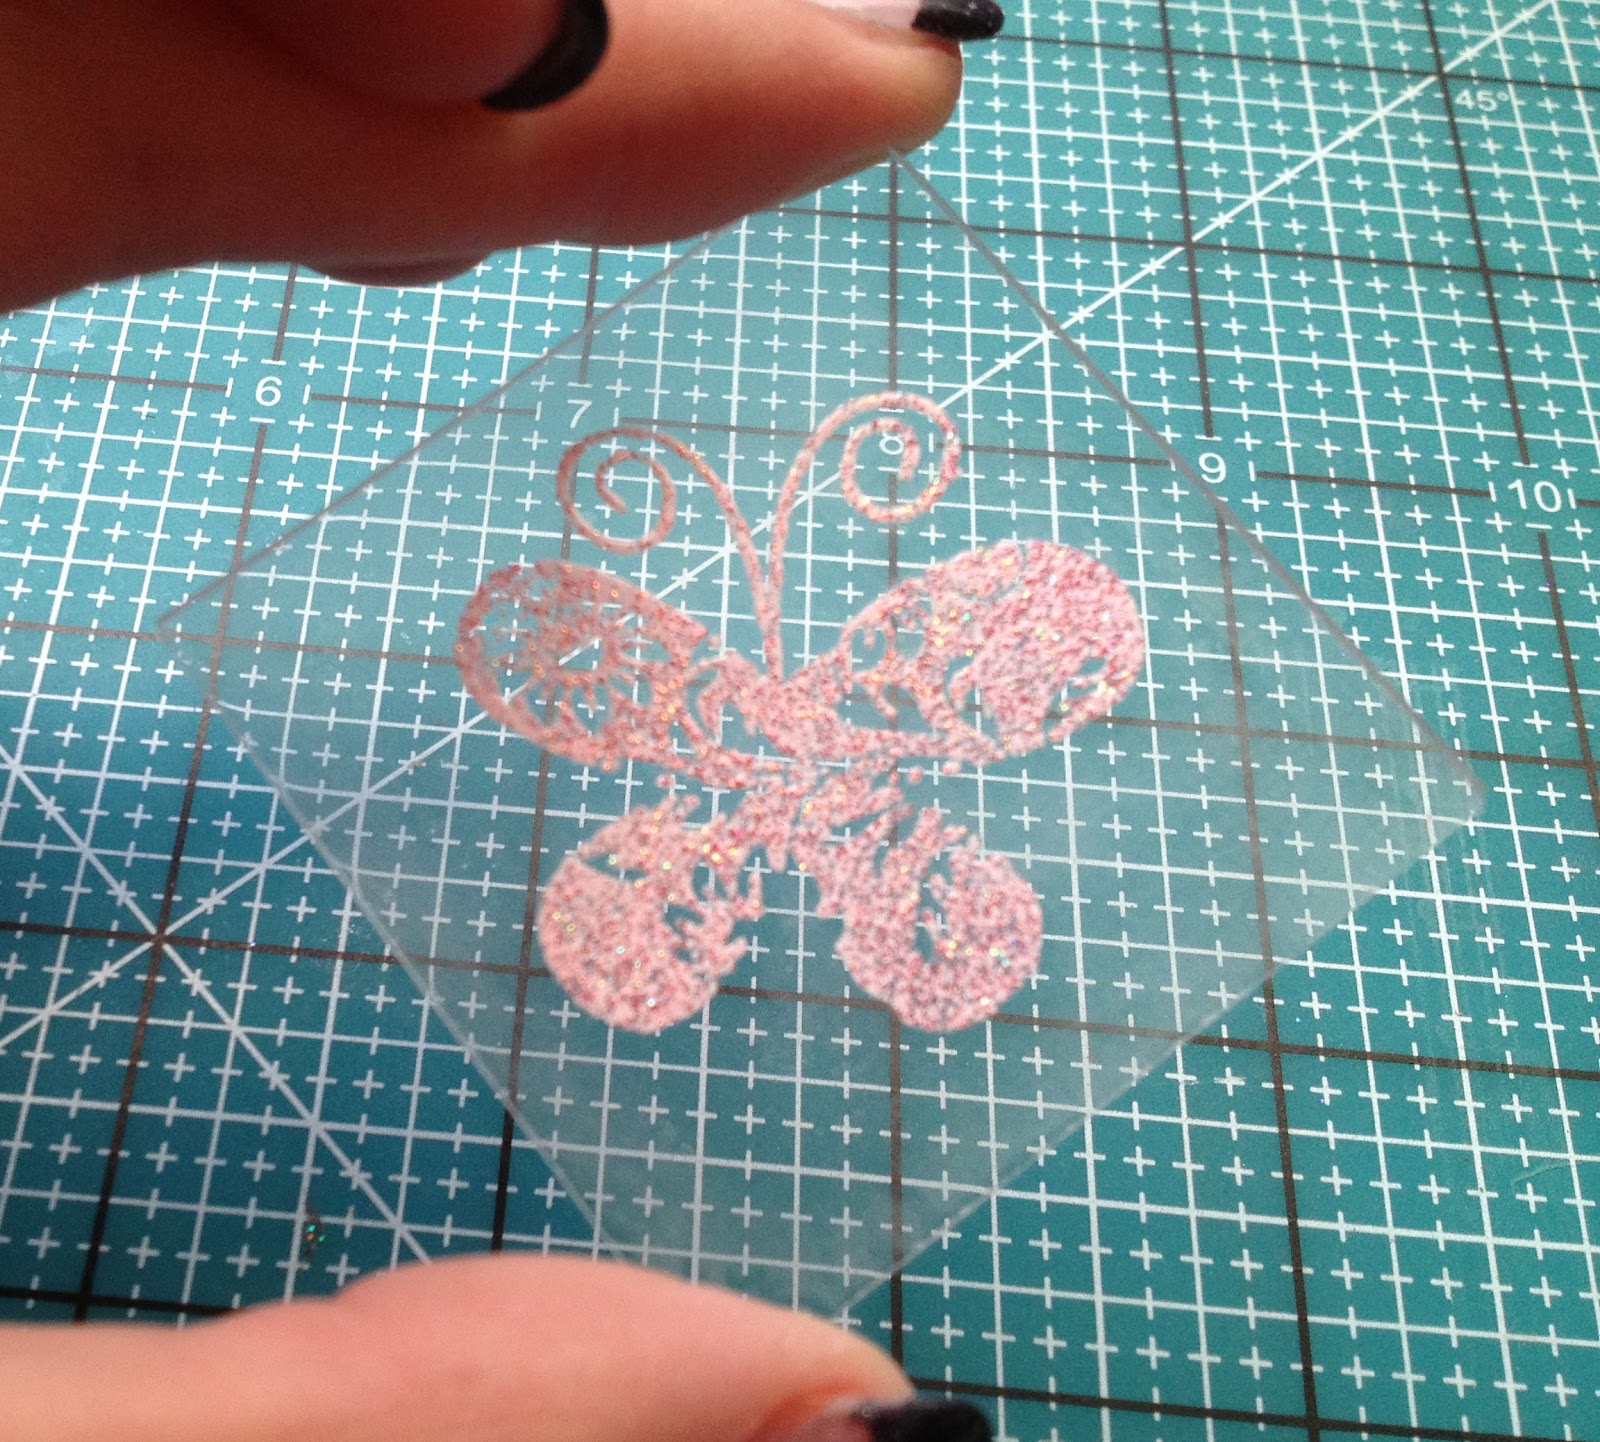
Remove paper backing from other side of acrylic again being careful not to leave finger prints on the new side and gently press entire block into your versamark pad to coat the backside of your block (NOTE:  You want to versamark the OPPOSITE side of your block then you embossed on....)

Using a coffee filter to catch any extra powder, apply stickum powder to your wet versamark and heat set just until melted and quickly sprinkle glitter onto hot wet stickum powder and gently heat set again to "seal" in glitter.  (Use can also use sparkle embossing powder which has a glitter look to it as well but I wanted to get the full sparkle on my block.)
                       This is what your finished block will look like...  Nice and sparkly and shiny....
Now using the same die as in the first couple steps above, die cut a white square to place behind your                                                                                 acrylic block.
Now cut out scallop squares the same size as your square block.  Cut 2 "window" squares as shown on the left and 1 solid square like shown on the right.

Attach acrylic block to white die cut square using "tear"ific tape (you won't see it I promise) and being very careful not to scratch your glitter off the block when you are removing paper backing from tape and then adhere to solid die cut scallop square as shown below. (Your glittered side should be adhered to the white die cut square.)
Attach to your card base centering and covering the indented portion previously created with your die.
Now when you close both left and right flaps closed again you will be able to see the beautifully                                                         created  acrylic block now showing through those openings. 
Decorate as desired to finish off your card.  I have 2 samples shown here for you.  The best part is that these acrylic blocks are so thin that you will be able to mail them as you normally would with no added bulk. 
These are gorgeous eye catching cards that sparkle with the look of glitter but won't give your recipient the surprise of being covered with glitter when they open their card.  This is a fun technique to do and an even more fun card to receive.  I hope you will try one of these cards and  I would love to see what you come up with...  Thank you so much for taking the time to stop by today... I really do appreciate all of the love and support you show...  Please let me know what you think as I value your comments and feedback greatly!!!


Friday, November 30, 2012

SNS December Sketch

This is my card for this month's sketch challenge over at Sparkle N Sprinkle... I really hope that you will all be inspired to play along with us this month. The sketch is fabulous and leaves for so many awesome ideas...
The sketch challenge can be found here: Sparkle N Sprinkle Sketch Challenge I chose to use one of our newest Digi images from Beccy Muir.  If you haven't checked out her new images, please take the time to stop by and check them out.  You will also notice many new items in the store including embossing folders and Lifestyle Dies...  Check them out. Please check out what the rest of the DT has shared for inspiration and then play along with us. You will have until December 31st to upload your card to the SNS Sketch site. Here are the rules to play along...
 1. Create a new project for the challenge. No back links please. Altered art, ATCs, cards, scrapbook      pages, or any other craft projects are acceptable as long as they adhere to the month’s challenge. You may enter as many projects as you like.
 2. Please use Sparkle N Sprinkle images only.  Rubber images and digi images are all okay to use. IF USING NO STAMPS AT ALL, please use one of our other fine products on your project.
3. Please link to the exact post on your blog - not the home page URL of your blog - using the inlinkz icon at the bottom of the challenge. Be sure to link directly from your blog post back to our Challenge Blog. And that's all there is to it! If using SplitCoastStampers gallery (SCS) please see step 4.
 4. If posting to the SCS gallery - please be sure to include the code that appears on the Challenge page to tag your card to the challenge. Each monthly sketch or challenge will have its own unique code that will appear above the sketch or challenge. Please link the card or project by clicking the inlinkz icon at the bottom of the current challenge page. You’ll be prompted for the next steps. (Remember, please make sure to link directly to your challenge card)
 5. Posting starts at 12:01 a.m. ET on the first day of the month and ends at 8:00 p.m. ET on the last day of the month If you have any questions please email Barbara@sparklensprinkle.com

Wednesday, November 14, 2012

Sparkle N Sprinkle Blog Hop

Welcome to the Sparkle N Sprinkle Winter Wonderland Blog Hop! If you hopped here by way of Cheryl Bennett, then you are in the right place. Otherwise, you might like to start from the beginning to become eligible for 6 fabulous prizes (and link back to www.sparklensprinkle.com/blog) Today I am sharing two projects with you. The first one is this great Christmas card which uses our new "Velvet" glitters. They are amazing and you will definitely want to get your hands on them...
I used the quickie glue pen to add glue to my border and then added my glitter. The glitter gives this card such a wonderful sparkling look... I added my row of "candi" to the bottom to finish off my card. I truly hope you enjoy this card as much as I did making it... Second item I would like to share with you today is my Christmas Wreath. I am a big fan of decorating for Christmas. We start the day after Thanksgiving and nothing comes down until the new year.. I wanted to makes something special this year so I tried my hand at a wreath. Can I say I love it...
This was such a fun wreath to make and it looks just adorable hanging on my front door. I wish I could have gotten a better shot of this beauty, but it was so hard.
I hope you have enjoyed my projects for you today. Make sure you leave a comment in the comment box before you head on over to Marie Berquist for your chance to win one of 6 fabulous prizes... Happy Hopping!!!

Thursday, August 30, 2012

Many Smiles

Boy could my family use some "smiles" these days... Things in my house are very tight and rough these days... Wishing something good can come soon... There is one thing that I have been working towards for a little while now that I really want and am still holding onto the hope that I get it... I have also recently gone back to work after being out for 4 months due to a major knee surgery and I am wondering if I went back too soon because I am having a rough time with it...
And hubby is still looking for a job... He does seem to have a really good prospect and they told him they planned to hire him but need to get the funding approved from corporate first... They said it could be this week or several months from now... (Like we can sit around and wait!) So like I said, we need a few smiles this way too... This is my "smile" card for today's challenge.. I could use a smile card myself so this was a perfect challenge for me today. I had the idea to use this stamp set last night, but hadn't seen it in quite some time so I thought I got rid of it. Well... I got up this morning and started rumbling through my "stored" stamp sets and viola... There it was right on top. So glad I kept this one as it was perfect for today's challenge... It is so fun pulling out older sets to play with. They remind me why I bought them in the first place... This was a super simple card to put together... I had this DSP sitting around and thought it was cute so I pulled it out.. Then I stamped my image and punched it out with the 1 3/8" circle punch and then the scallop punch. I stamped my main panel with the same smiley faces as my main image and then my sentiment. I added some ribbon and some cute little Candi to the cheeks and viola... my card... I hope you like what I did here today with this cute but old set... Happy Stamping!!!

Tuesday, August 28, 2012

Rich Daffodils

This is my take on today's color challenge... I originally did this with a lot of Rich Razzleberry color because I absolutely love that color, but then I decided to tone it back and go with the yellow and green to challenge myself.. I always have a hard time using any yellow so I am working on changing that... The centers of the flowers are glittered with a mixture I made of red and purple glitter that matches Rich Razzleberry... Took a little time to get the color but now I have a batch of it for future use... :)I started with my A2 size card and added a DSP layer... I stamped and colored my new image with the copic markers. I then used quickie glue and added a small amount of glitter to my flower centers and then cut out with spellbinders scallop circles... I then used my new "candi" and embossed them with daffodil embossing powder and attached with dimensionals... I added some seam binding ribbon to finish this beauty off... I hope you like what I have done with these colors today.... Happy Stamping!!!